


 NuGet
NuGet
Building a Custom Toolbar for the WPF HTML Editor
The WPF HTML Editor ships with a full WYSIWYG toolbar out of the box, but not every embedded scenario needs all of it. Some embedded scenarios, for example a small notes field inside a form, call for a minimal toolbar rather than the full WYSIWYG toolbar: a handful of commands (for example Bold, Italic, Bullet List, and Hyperlink), styled to match the height and accent color of the surrounding form, with everything else hidden. This page shows how to build that toolbar yourself in code, choosing exactly which commands appear and how they are styled.
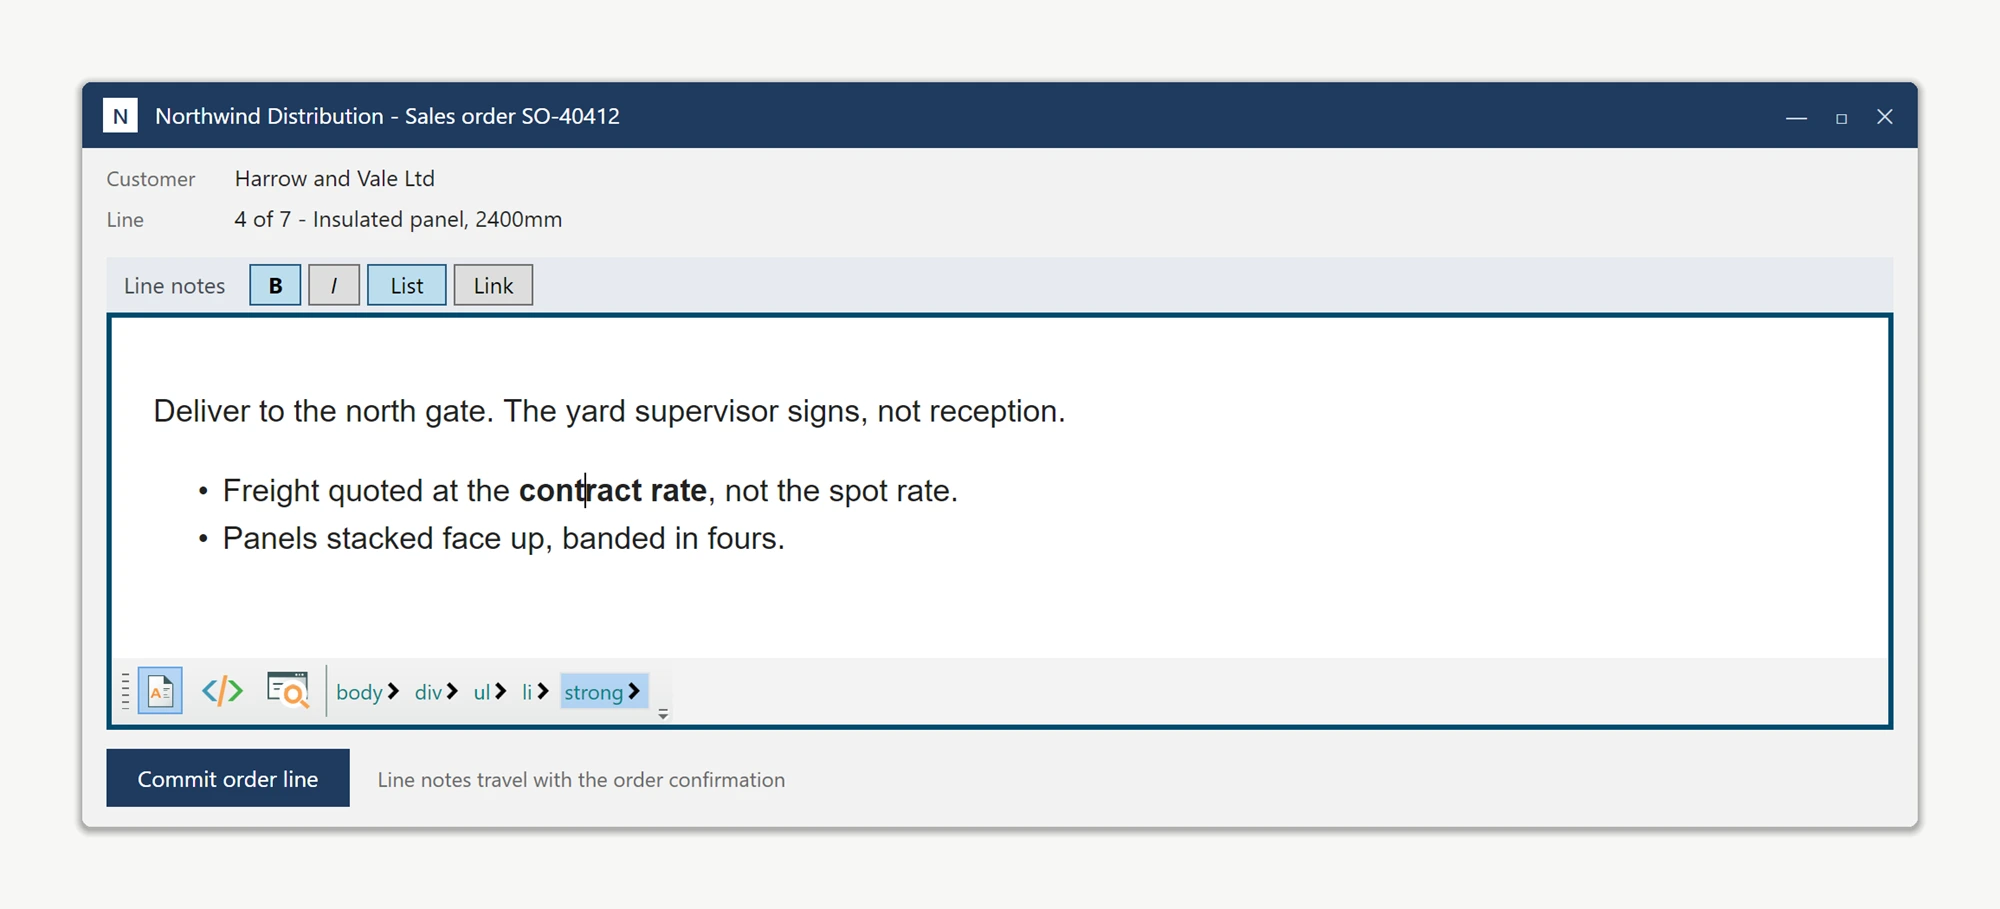
WpfHtmlEditor exposes its built-in toolbars through the public Toolbar1 and Toolbar2 properties, so you can collapse them, and every editor command through editor.ToolbarItemOverrider, so your own buttons can invoke exactly the commands you want.
Put your own toolbar directly above the editing surface, sized and styled to your own design. These are ordinary WPF controls, so they inherit your application's look without any theming work on our side:
<Grid>
    <Grid.RowDefinitions>
        <RowDefinition Height="Auto" />
        <RowDefinition Height="*" />
    </Grid.RowDefinitions>

    <StackPanel x:Name="CompactToolbar" Grid.Row="0" Orientation="Horizontal"
                Height="28" Background="{StaticResource Form.Accent}">
        <Button x:Name="BtnBold"    Content="B"    Width="30" />
        <Button x:Name="BtnItalic"  Content="I"    Width="30" />
        <Button x:Name="BtnBullets" Content="List" Width="44" />
        <Button x:Name="BtnLink"    Content="Link" Width="44" />
    </StackPanel>

    <wpfHtmlEditor:WpfHtmlEditor x:Name="NotesEditor" Grid.Row="1"
                                 Loaded="NotesEditor_OnLoaded" />
</Grid>
In the Loaded handler, collapse both built-in toolbars and point each of your buttons at the editor's matching command handler:
private void NotesEditor_OnLoaded(object sender, RoutedEventArgs e)
{
    NotesEditor.Toolbar1.Visibility = Visibility.Collapsed;
    NotesEditor.Toolbar2.Visibility = Visibility.Collapsed;

    var commands = NotesEditor.ToolbarItemOverrider;

    BtnBold.Click    += (s, args) => commands.OnBoldButtonClicked(NotesEditor, new RoutedEventArgs());
    BtnItalic.Click  += (s, args) => commands.OnItalicButtonClicked(NotesEditor, new RoutedEventArgs());
    BtnBullets.Click += (s, args) => commands.OnUnOrderedListButtonClicked(NotesEditor, new RoutedEventArgs());
    BtnLink.Click    += (s, args) => commands.OnHyperLinkButtonClicked(NotesEditor, new RoutedEventArgs());
}
Private Sub NotesEditor_OnLoaded(sender As Object, e As RoutedEventArgs)
NotesEditor.Toolbar1.Visibility = Visibility.Collapsed
NotesEditor.Toolbar2.Visibility = Visibility.Collapsed
Dim commands = NotesEditor.ToolbarItemOverrider
AddHandler BtnBold.Click, Sub(s, args) commands.OnBoldButtonClicked(NotesEditor, New RoutedEventArgs())
AddHandler BtnItalic.Click, Sub(s, args) commands.OnItalicButtonClicked(NotesEditor, New RoutedEventArgs())
AddHandler BtnBullets.Click, Sub(s, args) commands.OnUnOrderedListButtonClicked(NotesEditor, New RoutedEventArgs())
AddHandler BtnLink.Click, Sub(s, args) commands.OnHyperLinkButtonClicked(NotesEditor, New RoutedEventArgs())
End SubEach On…ButtonClicked method runs the exact code the corresponding factory button runs, so everything that hangs off it keeps working: the hyperlink command still opens the editor's hyperlink dialog, the table command still opens Table Properties, and every command still applies to the current selection. There is one handler per command - OnBoldButtonClicked, OnUnOrderedListButtonClicked, OnImageButtonClicked, OnTableInsertButtonClicked, OnCheckSpellingButtonClicked and the rest - so a toolbar of four buttons and a toolbar of forty are the same amount of work per button.
Drive the factory commands through these handlers rather than moving the factory controls themselves into your layout. The controls are built for the editor's own toolbar and are not laid out correctly outside it.
Keeping your buttons context-aware
Because the buttons are yours, their lit and unlit state is yours to drive. Subscribe to SelectionChanged and read the editor's own StateQuery whenever the caret moves:
NotesEditor.SelectionChanged += (s, args) =>
{
    BtnBold.Tag   = NotesEditor.StateQuery.IsBold();     // bind or restyle from this
    BtnItalic.Tag = NotesEditor.StateQuery.IsItalic();
};
See Making Your Own Buttons Context-Aware via SelectionChanged and StateQuery for the full MVVM version of this, and Driving the WPF HTML Editor from Your Own UI Controls for the same technique opening the editor's built-in dialogs.
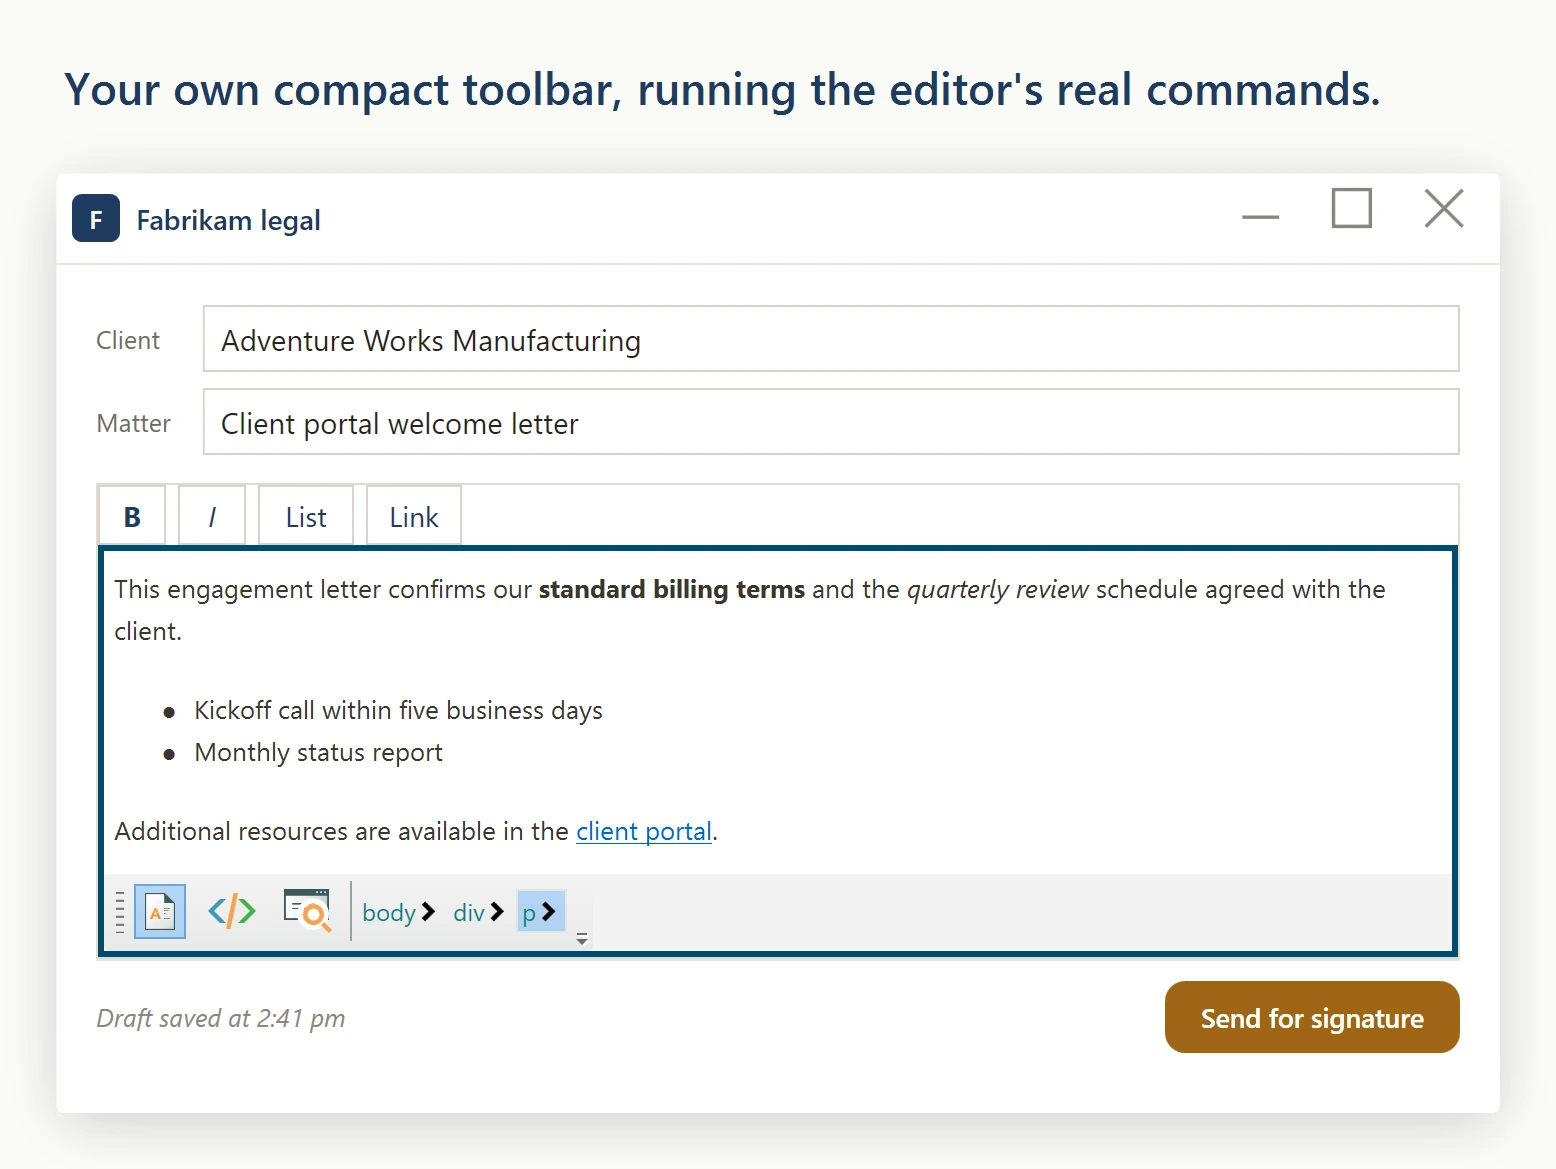
This pattern works for any embedded-toolbar scenario, no matter how many commands you keep. Summary:
editor.Toolbar1.Visibilityandeditor.Toolbar2.Visibilityhide the built-in toolbar strips.editor.ToolbarItemOverriderexposes every editor command as anOn…ButtonClickedhandler your own controls can call.- Those handlers run exactly what the factory buttons run, dialogs and selection handling included.
SelectionChangedplusStateQuerykeep your own buttons context-aware.
Ask your AI to do this
Let your assistant do this for you. With the SpiceLogic MCP server connected, paste this into Claude Code, Cursor, or VS Code Copilot in agent mode.
Using the SpiceLogic WPF HTML Editor already referenced in my project, collapse the built-in Toolbar1 and Toolbar2 strips and build my own compact ToolBar above the editing surface holding only Bold, Italic, Bullet List, and Hyperlink. Wire each of my buttons to the matching editor.ToolbarItemOverrider.On...ButtonClicked method so every command runs exactly what the factory button runs, dialogs included, and keep my buttons context sensitive by reading editor.StateQuery on SelectionChanged. Do not move the factory buttons out of the editor into my toolbar: every toolbar icon is sized from a resource that only resolves inside the editor's own element tree, so a re-parented button measures zero and renders blank. Style the new toolbar with a light gray background and a 28 pixel row height to match the rest of my form. Look up the real toolbar, ToolbarItemOverrider and StateQuery members with the SpiceLogic MCP tools before writing any code.