Getting Started
Developed by Thomas L. Saaty in the 1970s, the analytic hierarchy process (AHP) is a structured technique for organizing and analyzing complex decisions. The foundation of AHP decision-making is mathematics and psychology. SpiceLogic Analytic Hierarchy Process software (Ahp software) is a wizard-based software for modeling the Analytic hierarchy process step by step.
In order to get started with Analytic Hierarchy Process software (or ahp software), we will present an example of choosing a car based on 3 criteria and two alternatives. Also, we will assume that we have identified 2 options. We will show how to model this decision problem using the software and in that way, all of the features of this software will be explored and explained. The same document will apply to Rational Will, as Rational Will bundles the AHP software.
If you prefer a video, you may watch this tutorial video that demonstrates this same analytic hierarchy process example as presented in this article.
The analytical hierarchy process step-by-step approach
Here is the step-by-step approach for Analytic Hierarchy Process.
Step 1: Define the problem and Criteria
Step 2: Define Alternatives
Step 3: Establish priority amongst criteria and alternatives using pairwise comparison.
Step 4: Check consistency amongst the pairwise comparison.
Step 5: Evaluate relative weights from the pairwise comparisons and get the calculated overall priorities for the alternatives.
Step 6: Perform Sensitivity Analysis
Define the problem and Criteria
Say, you want to buy a car and your criteria are
1. Maximize Safety.
2. Maximize Comfort
3. Minimize Cost
When you start the AHP Software, you are presented with the following screen.
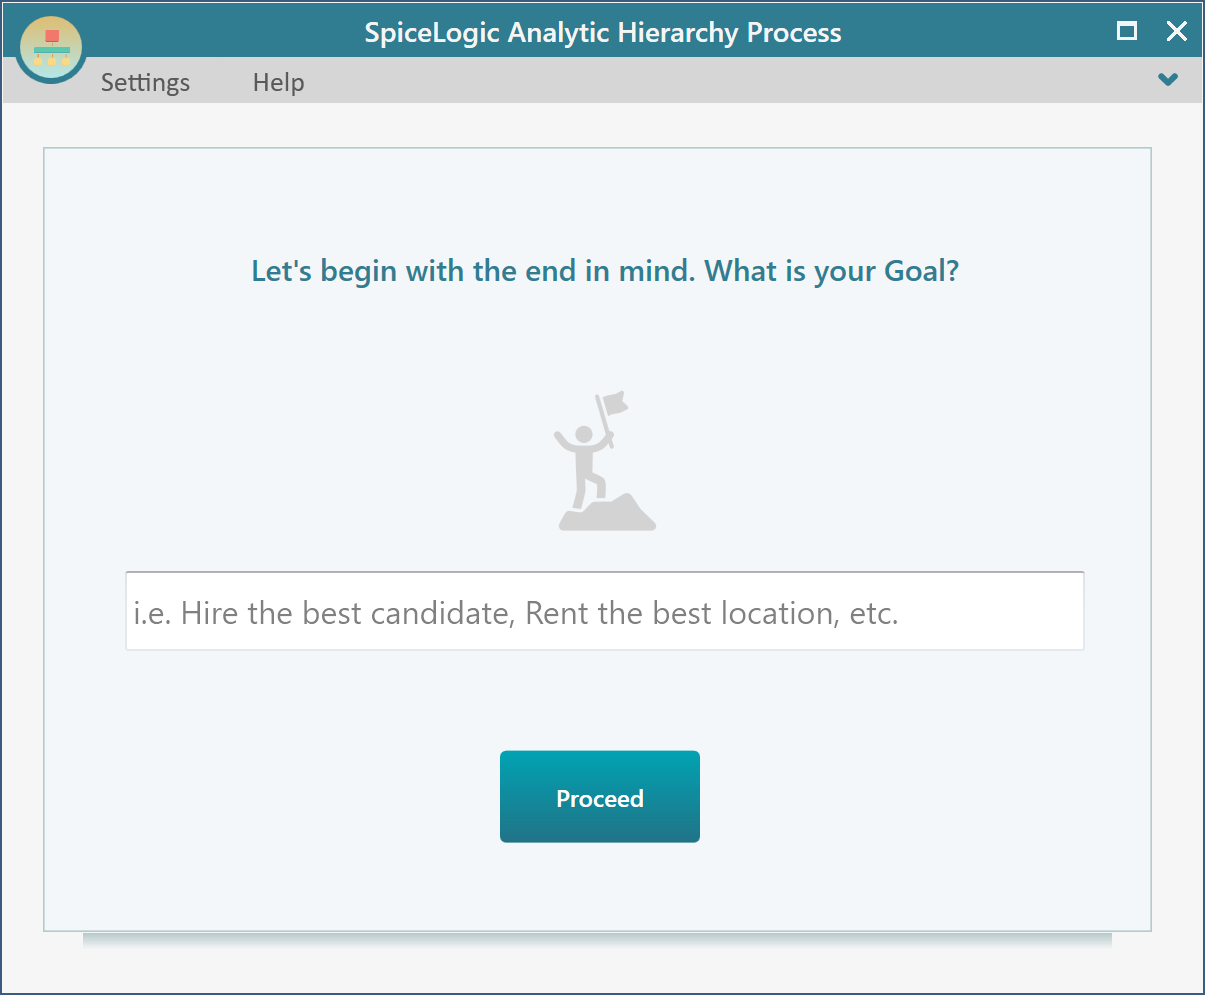
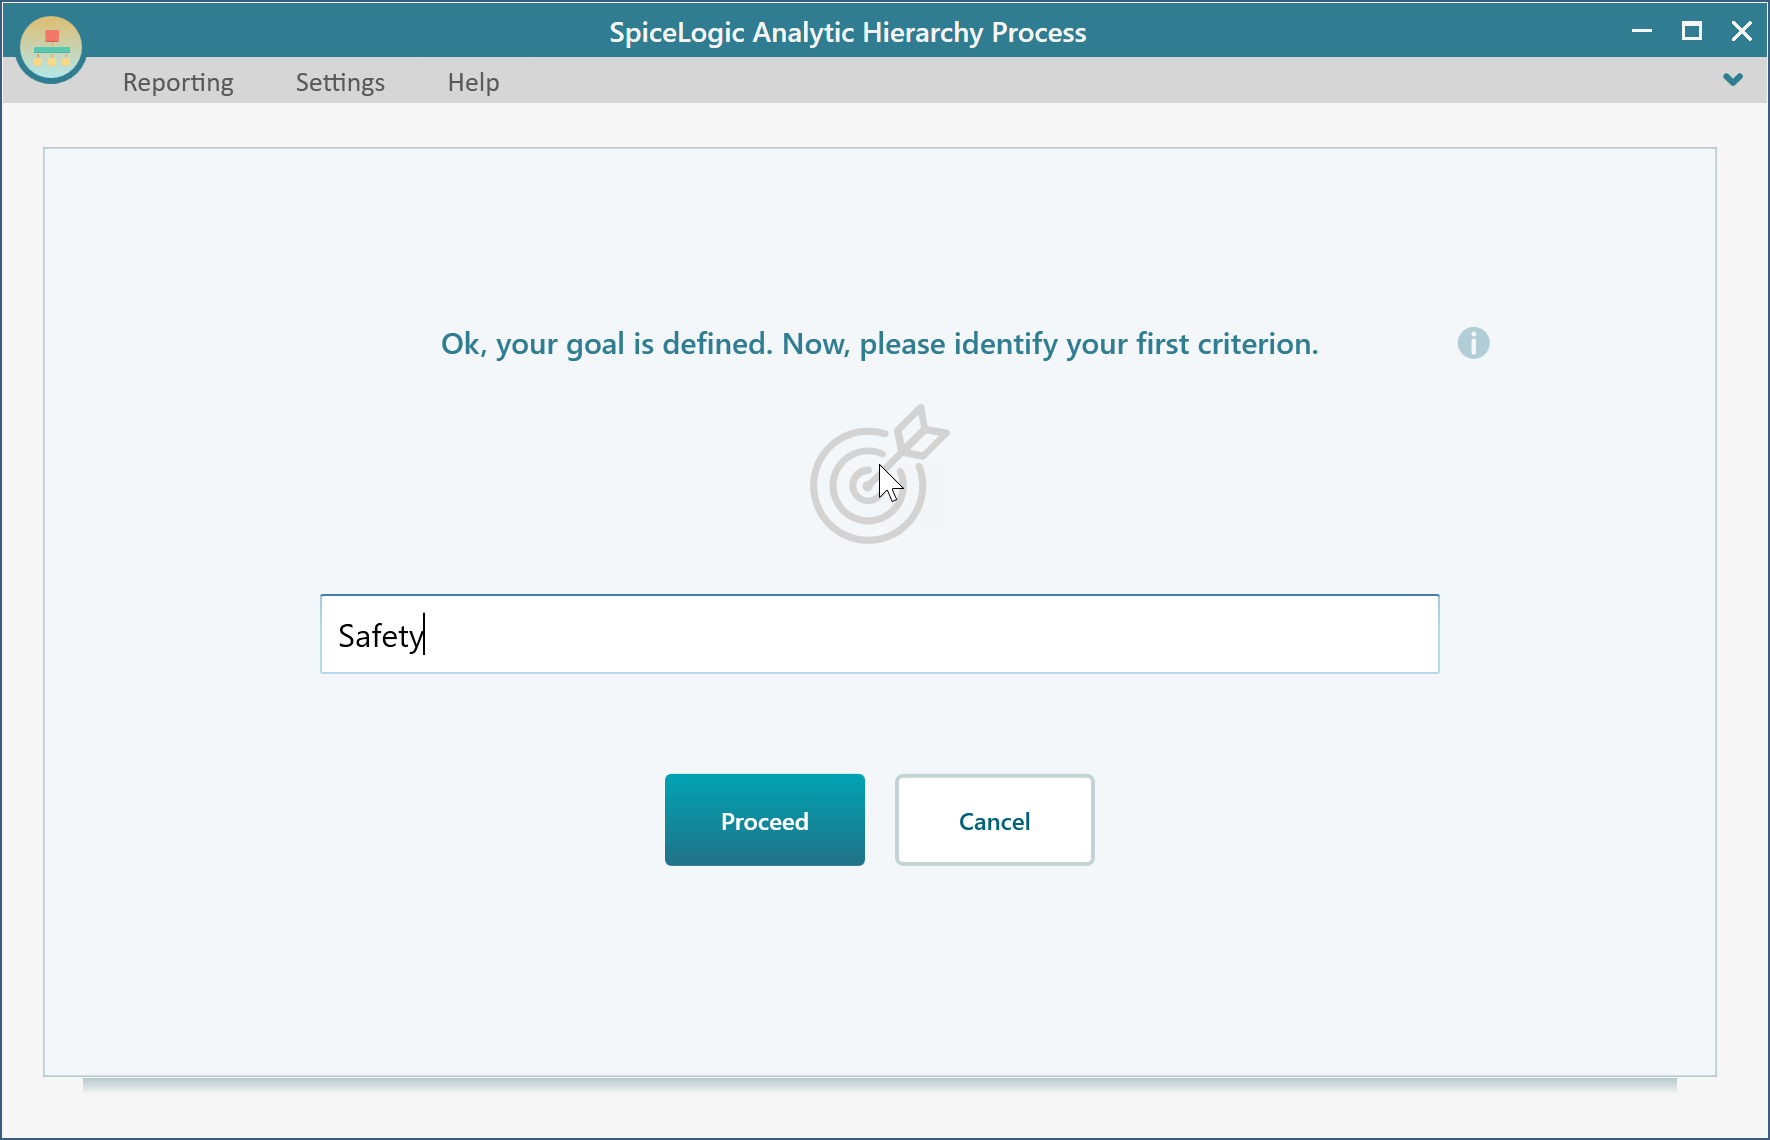
Enter your goal, "Buy a car", then click "Proceed". Then, you will be presented with the screen where you will enter your first criterion. Say, your first criterion is "Safety". Enter "Safety" and proceed.
Once you click the "Proceed" button, you will be asked if you have any more criteria.
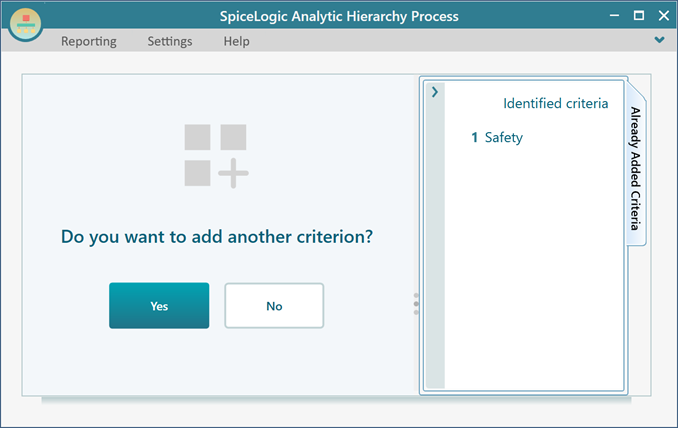
Click Yes. Then, in the same way, add 2 more criteria.
- Comfort
- Cost
Once all of the 3 objectives are modeled, you do not have any more objectives, therefore, click the "No" button in the wizard screen.
No worries if you want to add more criteria or modify/delete an existing criterion. You can do that later.
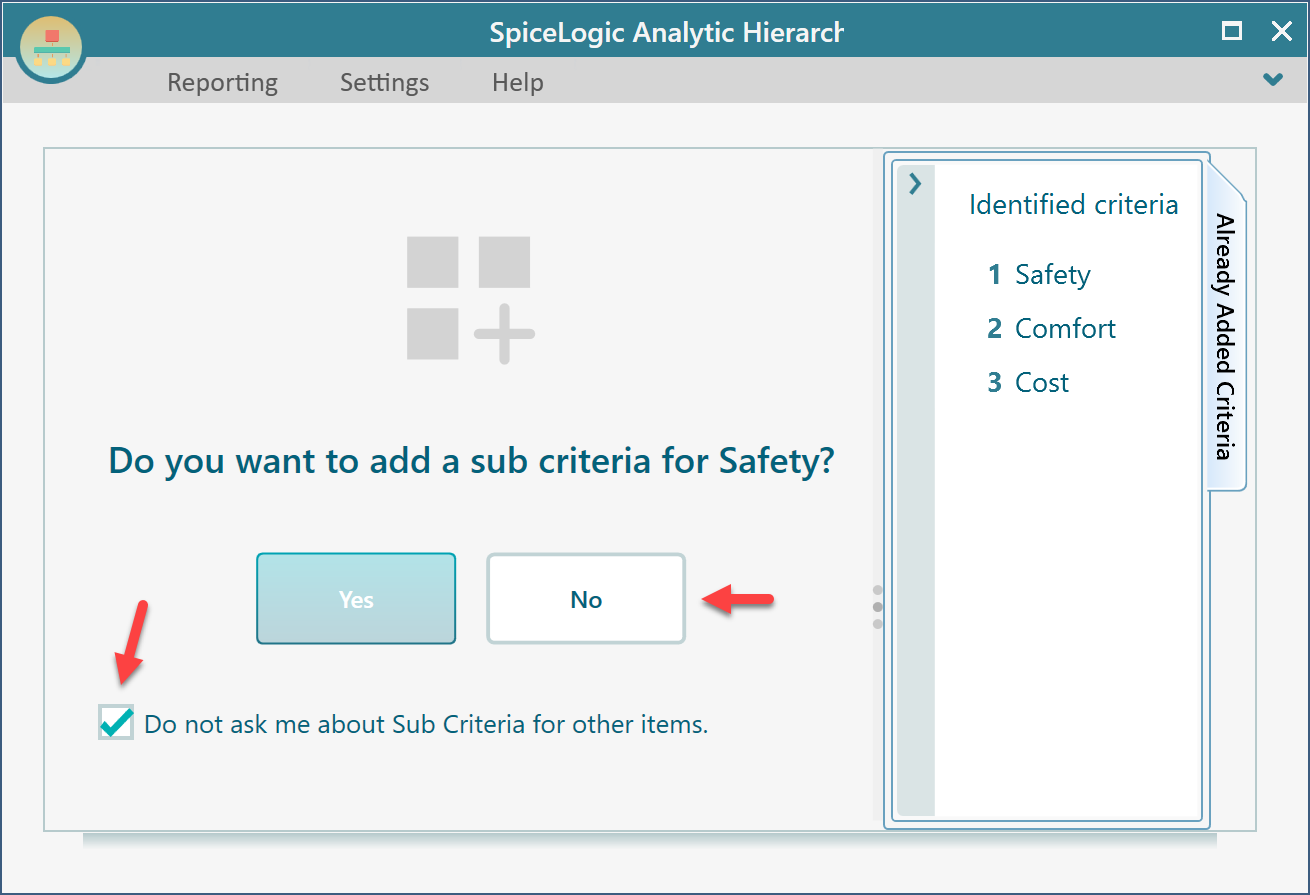
Once all criteria are identified, you will be asked if you would like to add Sub criteria for any of the criteria. For this example, let's keep it simple. Check this checkbox "Do not ask me ...." and answer no.
Deriving Priorities for the Criteria
After you have clicked the "No" button, you will be taken to a screen where you will be able to perform pairwise comparisons between the criteria you have identified.
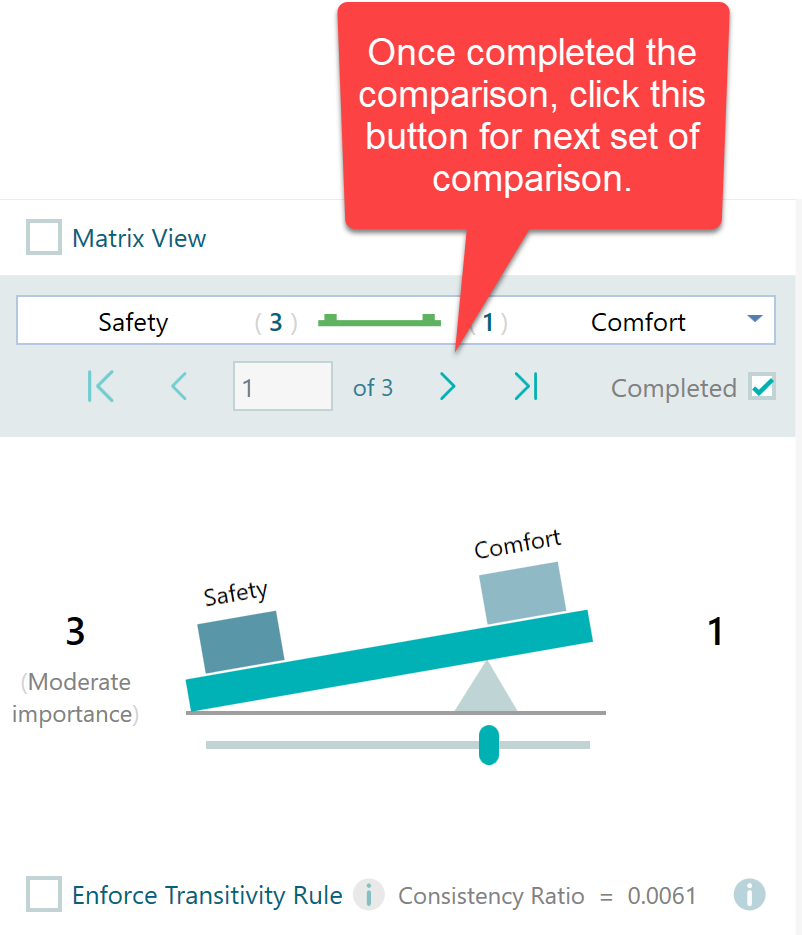
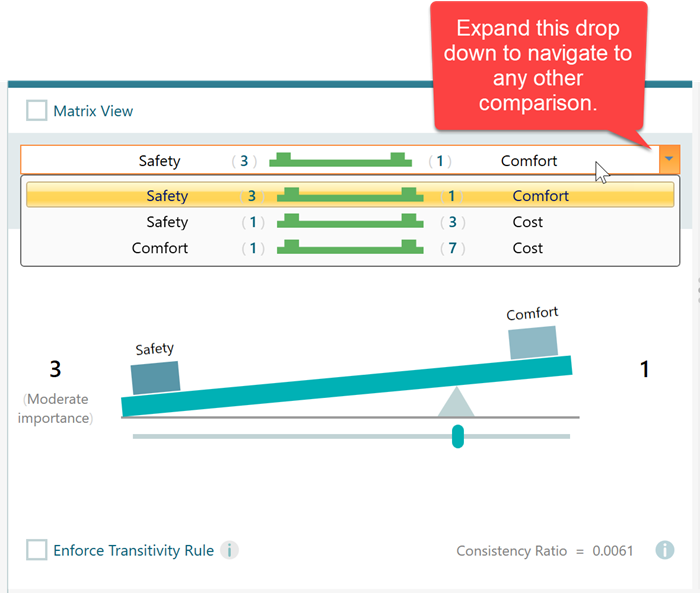
Complete all the pairwise comparisons in this window. When you click the next arrow button and if you decide to keep the comparison as 1:1 then simply check the "Completed" checkbox to indicate that the comparison is done.
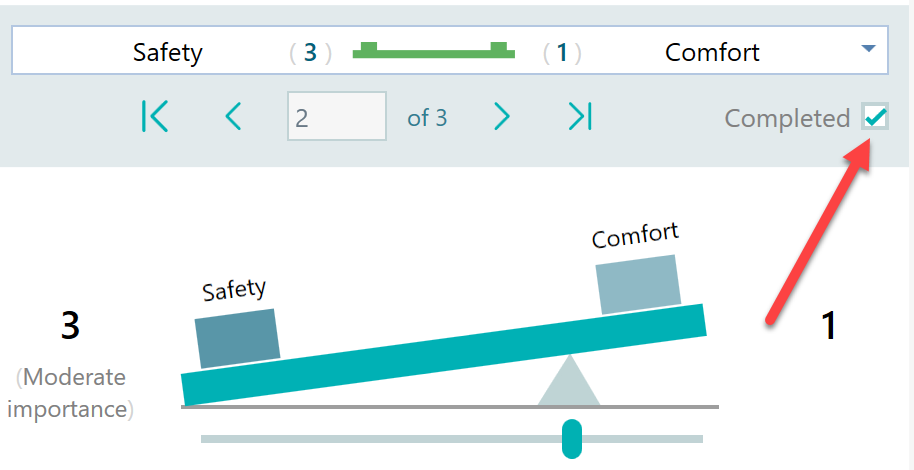
Let's say, you prefer to minimize cost 7 times as much as you prefer to maximize comfort, and you prefer to minimize cost 3 times as much as to maximize safety.
Once you click the Next button on the toolbar for the next set of pair comparisons, do the pairwise comparison according to your preferences. Say, you prefer, to Minimize Cost 7 times as much as you prefer to Maximize Comfort and you prefer to Minimize Cost 3 times as much as to Maximize Safety. Also, say you prefer to maximize safety 3 times as much as to maximize comfort.
You can check the Matrix view checkbox to see the complete pairwise comparison matrix. You can click on a cell in this matrix to invoke the pairwise comparison for that pair.
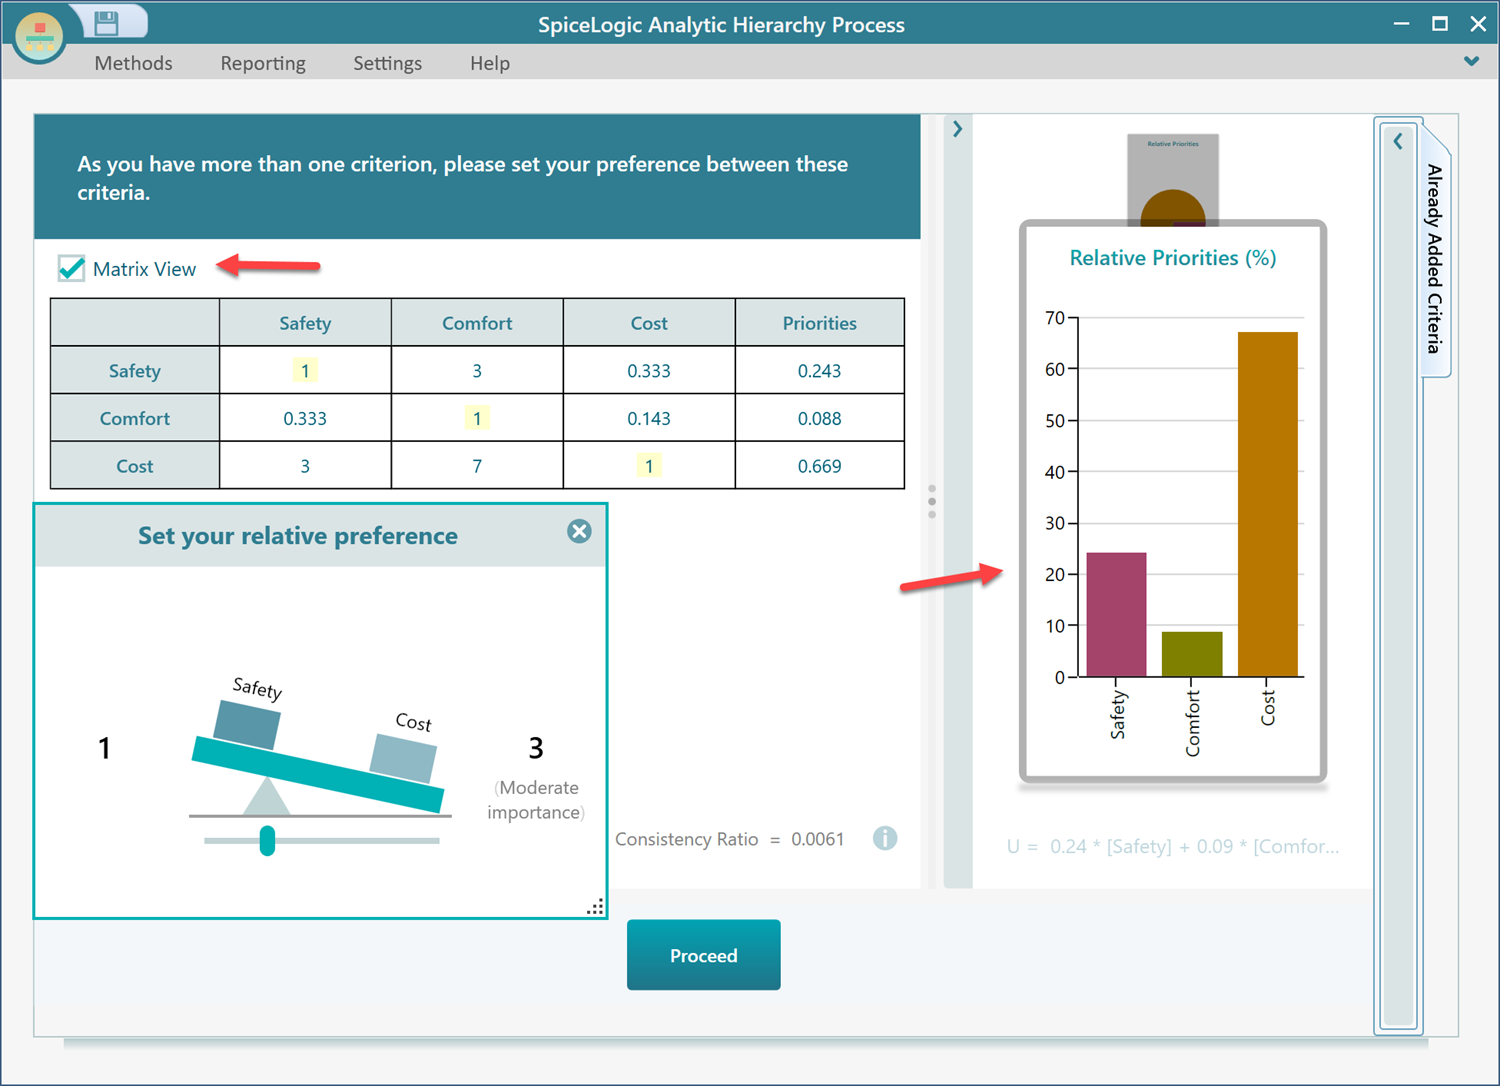
You will notice the priorities are calculated instantly for the set of criteria. The calculated priorities are also reflected in the chart beside it.
Finally, when you are done with all objectives pairwise comparison, click the 'Proceed' button in the wizard as shown below.
Define Alternatives (or Options)
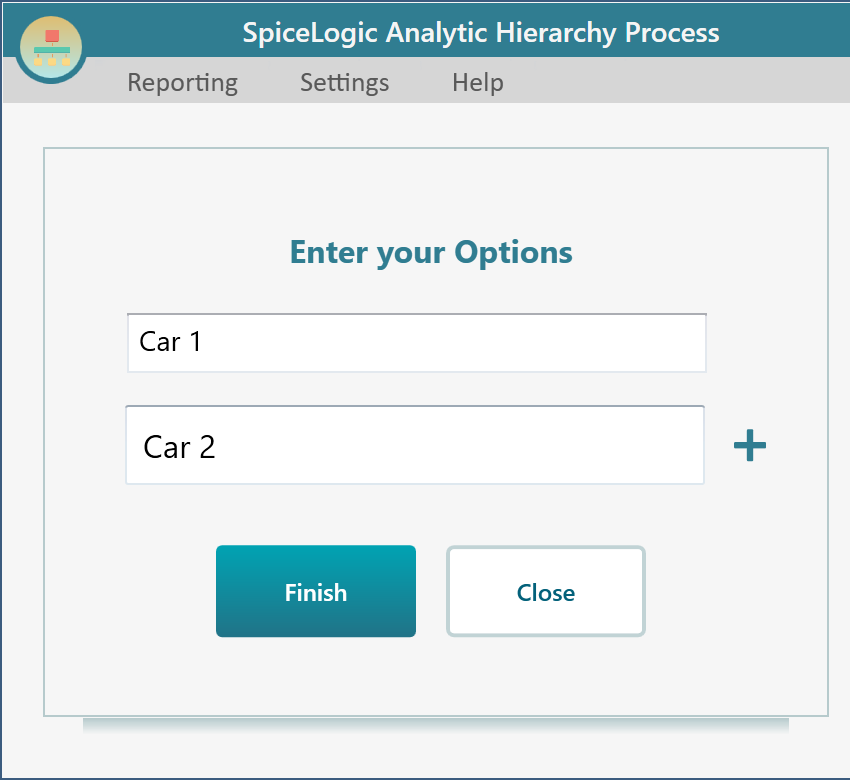
Once you click the 'Proceed' button in the wizard after completing all objectives pairwise comparisons, you will be presented to a screen where you will be asked to identify your options. Say, you have identified that you have the following 2 options.
1. Car 1
2. Car 2
Enter these options in the wizard screen.
Deriving Local Priorities for the Options.
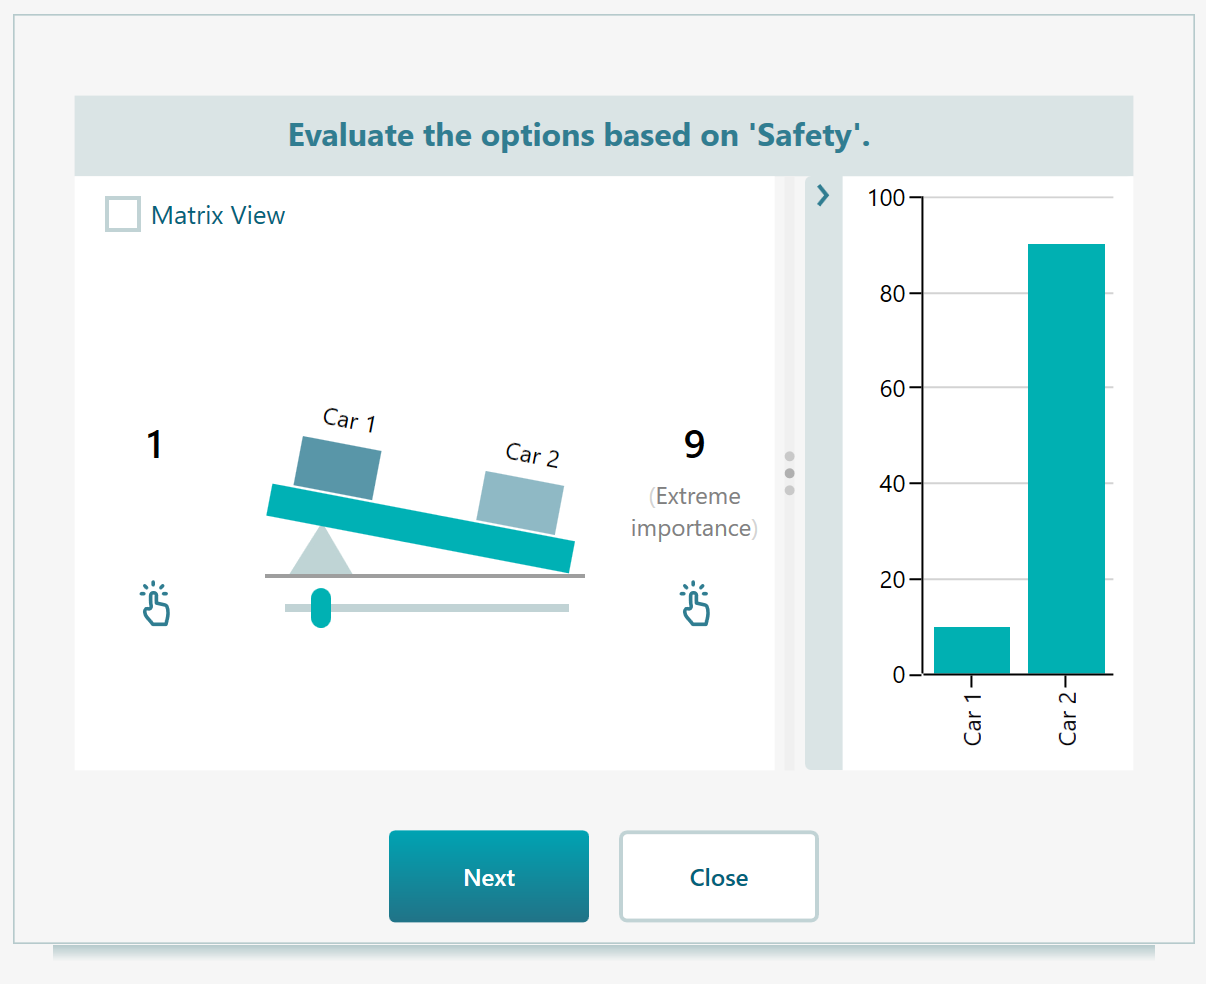
Click the button labeled 'Proceed'. Now, you will be asked to judge the 2 cars against one of your Criteria "Safety". You can consult statistical data, research online forums, or based on your experience/beliefs, you can set a weight. Suppose your belief is that Car 2 is 9 times safer than Car 1. Set the comparison as shown below:
Then click the 'Next' button. You will be asked to judge the options based on Cost. Suppose, you found that, the 'Car 1' price is 7 times preferable to 'Car 2' price. You can set that comparison the same as you did for the "Safety" criterion. Click the 'Next' button and finally, you are asked to judge the options based on "Comfort". Say, Car 2 is 5 times as much comfortable as Car 1. Set the preference in the same way again. Then click the "Next" button.
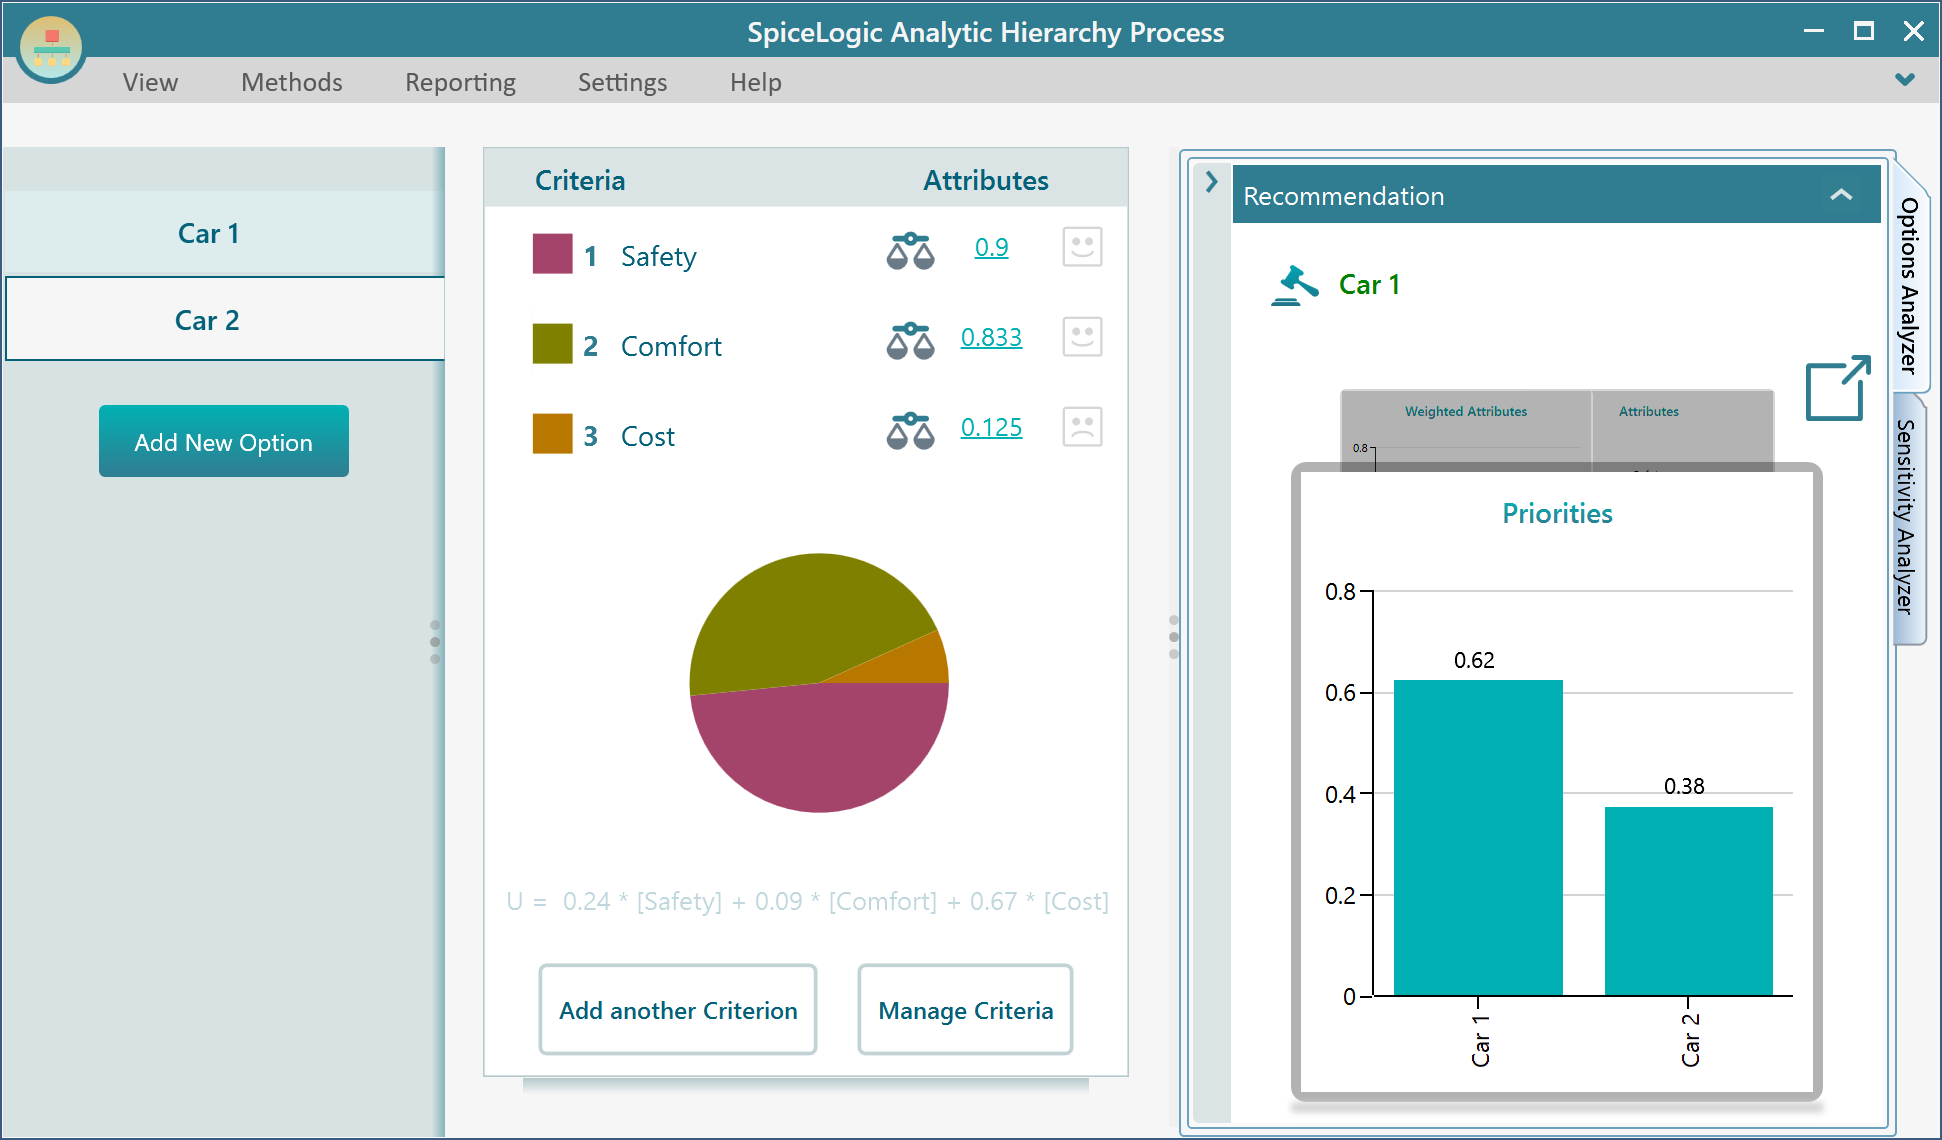
Finally, click the 'Finish' button. You will see the AHP model is calculated and presented as shown below. The Result panel is showing the Recommendation as "Car 1". Because "Car 1" has the overall priority number 0.62. And the "Car 2" has the overall priority number 0.38.
Modifying the parameters
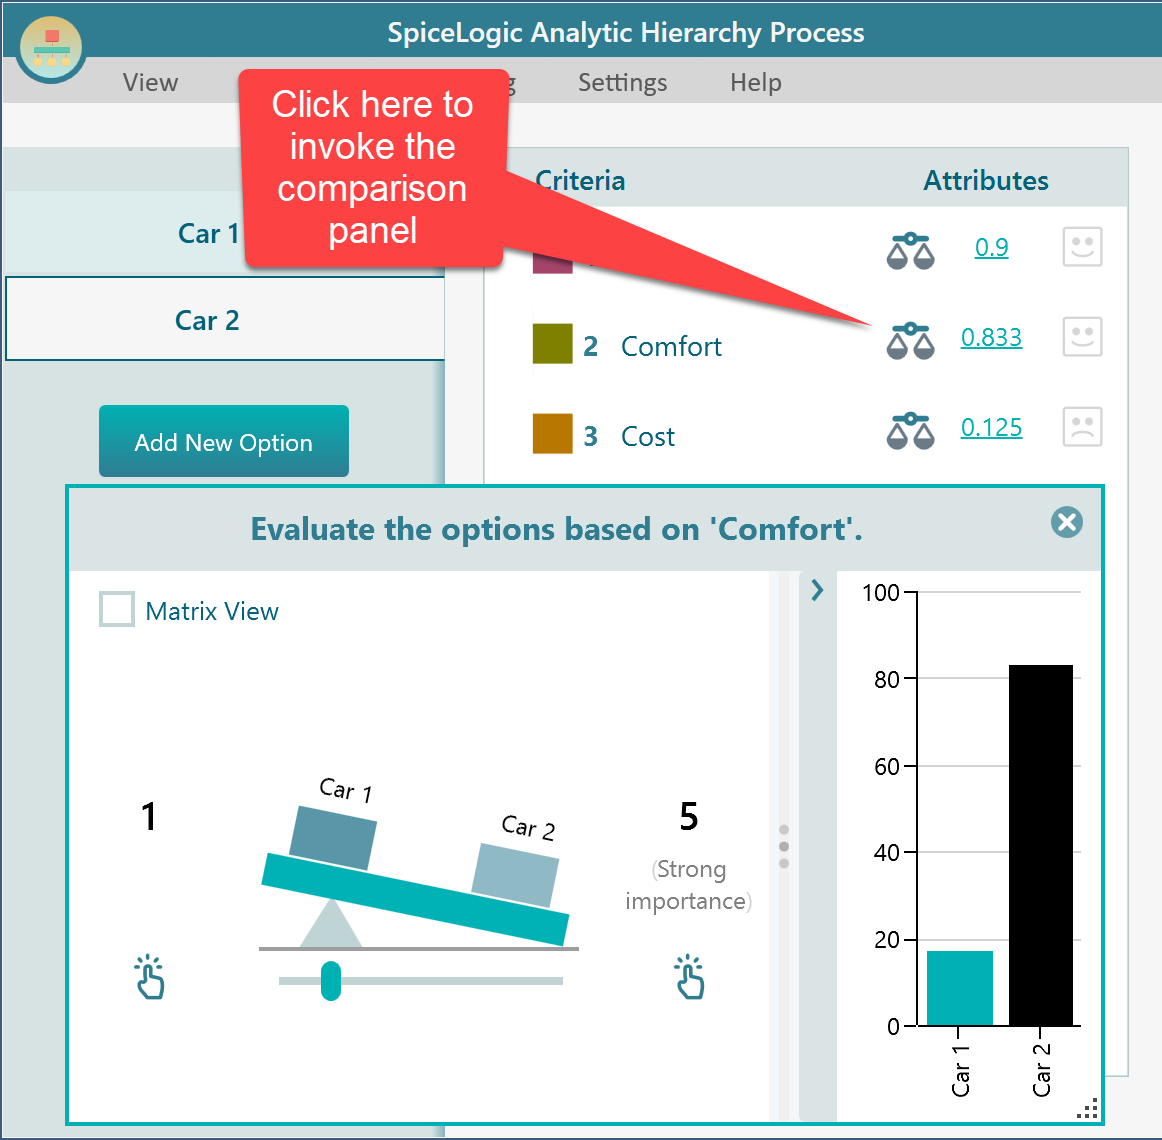
Now, if you want to change any comparison, simply click on the Scale button and the pair comparison dialog will appear.
Managing Options
You can add a new option just by clicking the "Add New Option" button as shown in the following panel. Right-mouse-click on the panel to bring the context menu. You will find the Edit, Delete or Disable option in the context menu.
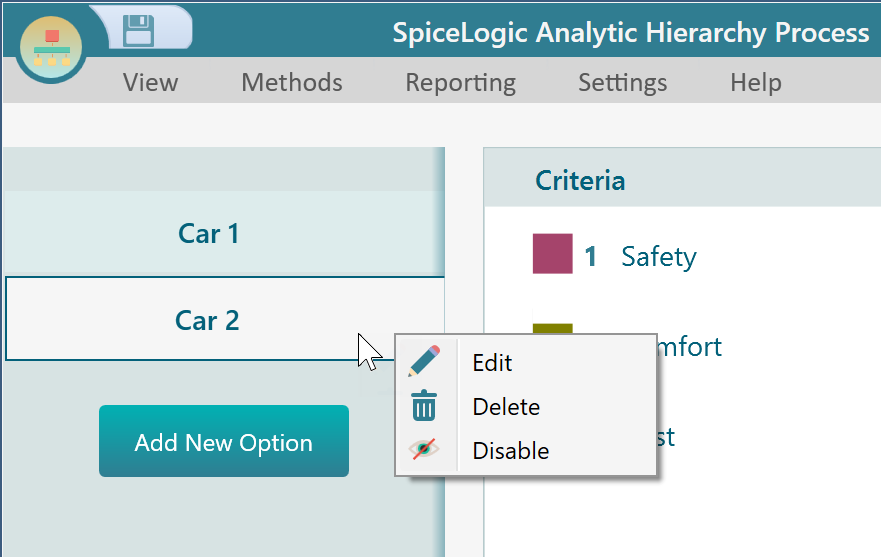
Learn more about managing options.
Managing Criteria Pairwise comparison
On the Options page, you will find the "Manage Criteria" button to jump to the AHP Criteria Diagram page.
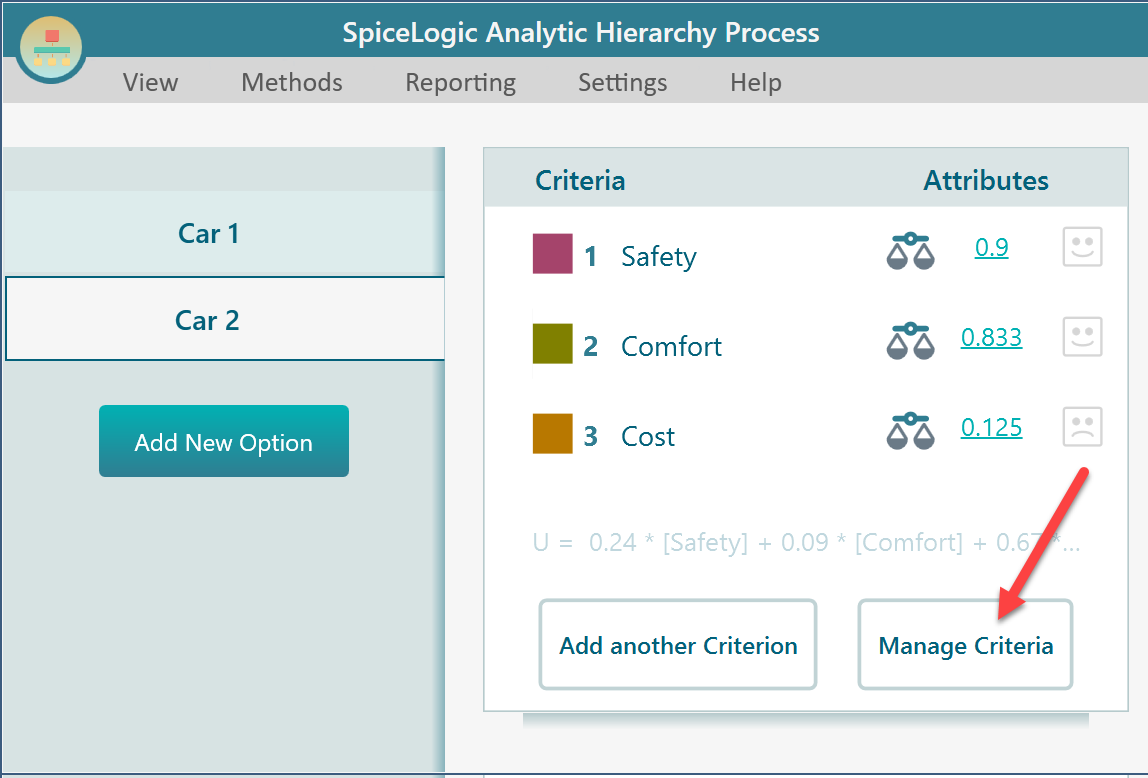
Learn more about managing criteria and sub-criteria.